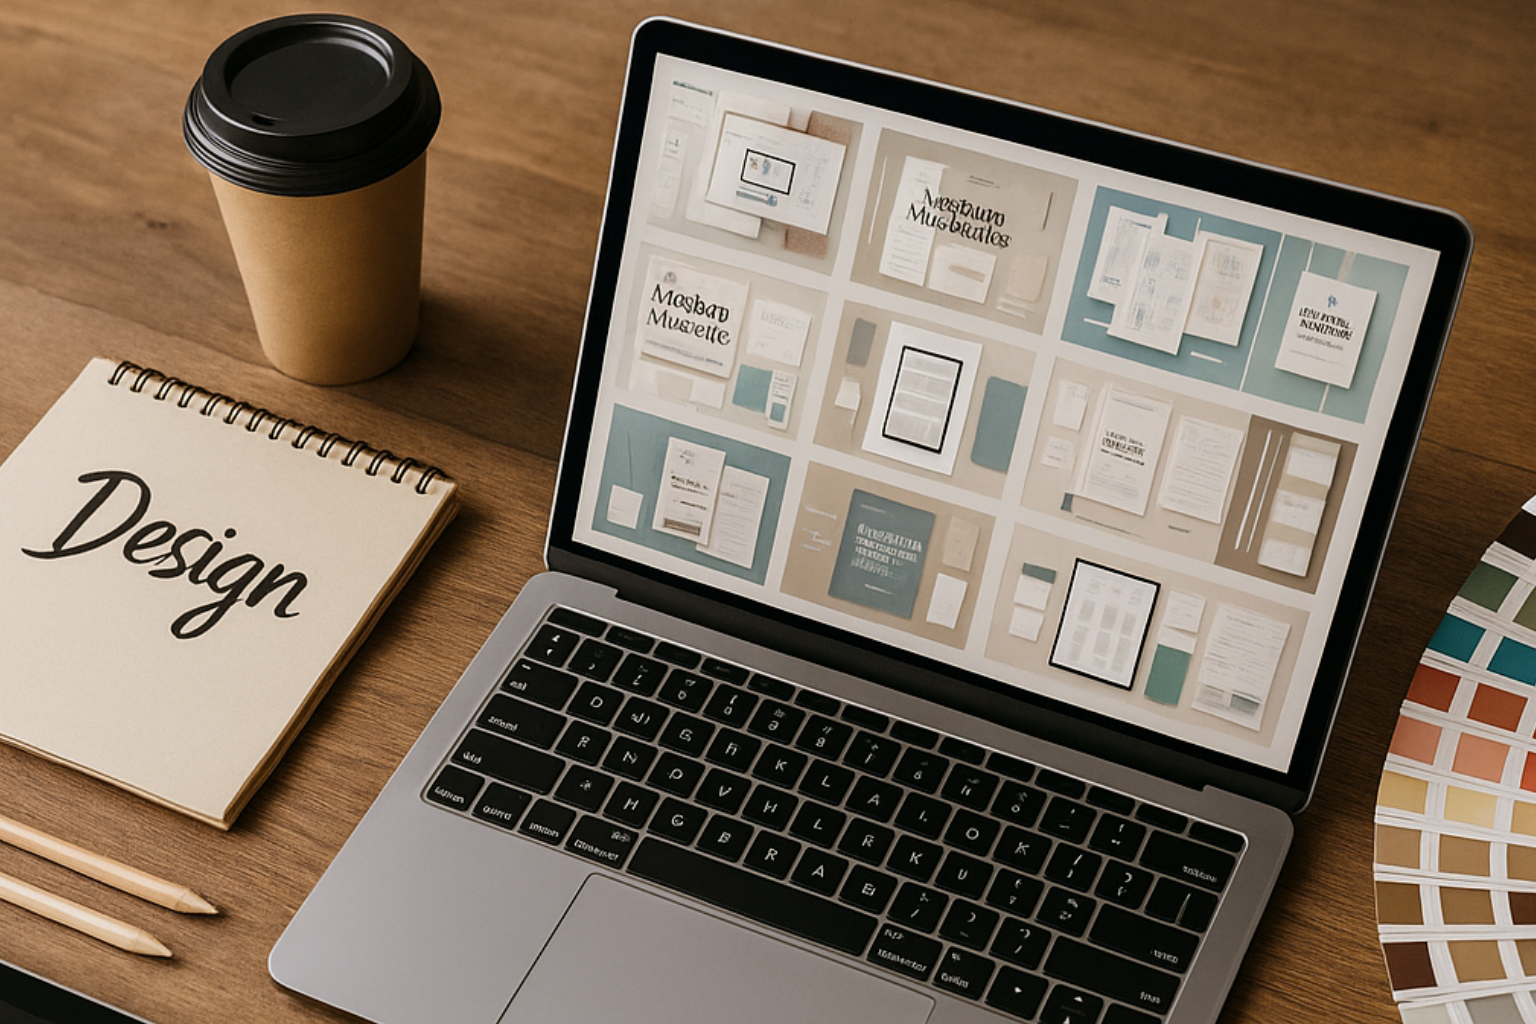
If you design for clients, sell digital products, or just like making nice visuals for your own brand, you know how much time it takes to start from scratch. That’s why Free Graphic Bundles are so handy. A good bundle gives you a small library—templates, textures, icons, mockups, fonts—that you can mix and match for quick results. This guide rounds up the types of free bundles worth grabbing in 2025, how to use them in Canva and Photoshop, and a few simple ways to keep everything organized.
You’ll also find gentle pointers to related how-tos across our site, in case you want to go deeper on mockups, Canva templates, or image prep.
Why bundles (not one-offs) save you time
Single files are fine, but bundles make more sense when you need a consistent look. You get coordinated assets that already work together—similar color styles, matching shapes, and file sizes that fit common platforms. This helps you:
- Keep a steady visual style across posts, ads, and print pieces
- Build faster because you’re not hunting for “one more icon” or “one more background”
- Test multiple directions for a client without rebuilding everything
If you’re setting up a fresh toolkit for 2025, start with two or three Free Graphic Bundles that cover your daily needs (social, brand basics, and mockups). You can add more as your projects grow.
What to look for in a free bundle (quick checks)
Before you download, scan the product page or the ZIP to be sure it includes:
- Clear license: Personal or commercial use? Any attribution required?
- Useful formats: PNG/SVG for graphics, PSD/Canva for templates, JPG/PNG for mockups, and PDF for printables
- Reasonable sizes: 2000–4000 px canvases for social; 300 DPI for print pieces
- Simple organization: Folders by category, helpful file names, a short “Read Me”
- Editable sources: Canva share links, layered PSDs, or SVG icons are a big plus
If the bundle passes those checks, it’s likely good enough to live in your everyday kit.
The best kinds of Free Graphic Bundles to grab (and how to use them)
Below are practical bundle types that cover common design tasks. Pick the ones that match your work, then mix them as needed.
1) Social Media Template Bundles (Canva + PSD)
What you get: Ready-made posts, stories, carousels, reel/short covers, and sometimes ad sizes.
Why they’re useful: Consistent spacing and type scales make your feed look steady and clean.
How to use:
- Swap colors and fonts to match your brand kit.
- Save a “master” version in Canva and duplicate it for each campaign.
- Keep a “text styles” page with headings, subheads, and buttons to stay consistent.
Related read: Top Free Canva Templates for Social Media & Branding
2) Brand Kit Starters (Logos, Mood Boards, Headers)
What you get: Simple logo frames, color palettes, type pair suggestions, and social headers.
Why they’re useful: Faster brand setup for new clients or side projects.
How to use:
- Pick one font pair you can reuse across platforms.
- Export a one-page brand sheet for quick reference.
- Save 2–3 logo variations (full, stacked, icon) for different placements.
3) Texture & Background Packs (Transparent PNGs)
What you get: Paper textures, grain overlays, gradients, fabric, concrete, or soft noise.
Why they’re useful: They add subtle depth to flat designs and help text stand out.
How to use:
- In Canva, place the PNG above your background and lower the transparency.
- In Photoshop, experiment with Soft Light or Multiply blending modes.
- Keep a “subtle” set for brand work and a “bold” set for posters or cover art.
Related read: Free Transparent Background PNGs for Photoshop & Canva Users
4) Icon & Illustration Sets (SVG + PNG)
What you get: Line icons, filled icons, and small illustrations in a consistent style.
Why they’re useful: You can build dashboards, infographics, and landing pages without visual drift.
How to use:
- Prefer SVG when possible—cleaner scaling and easy color changes.
- Create a “brand color swatch” layer so icons always pick the same tones.
- Build a small icon library page in Canva with your most used marks.
5) Mockup Scene Creators (Flat Lays, Devices, Print)
What you get: Books, phones, laptops, posters, cards, and frames in clean scenes.
Why they’re useful: Realistic previews make your templates and ebooks easier to understand.
How to use:
- Drop your cover or screen into the smart layer (Photoshop) or frame (Canva).
- Keep shadows soft; avoid harsh angles that feel fake.
- Export two sizes: a large one for your product page and a lightweight one for social.
Related read: How to Use Free Mockups to Promote Your eBook or Course
6) Photo Preset & LUT Bundles (Lightroom + Mobile)
What you get: A few color styles—clean, warm, moody, film—plus a quick “how to install.”
Why they’re useful: Quick image consistency across product shots and social posts.
How to use:
- Apply gently; adjust exposure and white balance after the preset.
- Keep a “brand preset” for your main look and a “secondary” for experiments.
- Export consistent sizes for your store or blog.
7) Typography Starter Packs (Free Fonts + Pairings)
What you get: A few open-license fonts (display + text) and sample pairings.
Why they’re useful: The right pair saves you hours of trial and error.
How to use:
- Test headings, subheads, and body text on one page.
- Check numbers and punctuation for pricing pages and tables.
- Save style presets in Canva so you never re-set fonts from scratch.
8) Presentation & Pitch Deck Bundles (Canva/Google Slides)
What you get: Slide templates for intros, problem/solution, features, pricing, and case studies.
Why they’re useful: Clear structure helps you move faster and keep focus.
How to use:
- Build a basic deck and duplicate it for each pitch.
- Replace big text blocks with short bullet lines.
- Keep a slide with brand colors and type scales at the end as a reference.
9) Printables & Stationery Sets (PDF + Canva)
What you get: Flyers, business cards, letterheads, stickers, and sometimes planners.
Why they’re useful: Reliable sizes and margins save you from re-export mistakes.
How to use:
- Export at 300 DPI, CMYK if your printer requests it (or high-quality RGB if they prefer).
- Keep live text where possible to edit names and dates easily.
- Print one test copy before a full run.
10) UI Kits & Wireframes (Figma/Sketch/Canva)
What you get: Button sets, form styles, nav bars, basic layouts for quick drafts.
Why they’re useful: They let you mock ideas fast, even if you’re not a full-time product designer.
How to use:
- Create a page of “atoms” (buttons, inputs, tags) and reuse them.
- Keep spacing consistent (8-point or 4-point system).
- Use a neutral color palette; add brand tones later.
Canva vs. Photoshop: when to use which with bundles
- Canva: Best for speed, team sharing, and social output. Use it for templates, quick posters, and light brand work.
- Photoshop: Best for heavy compositing, precise retouching, and layered mockups. Use it when texture control and smart objects matter.
You can combine both: set layouts in Canva for speed, then hop to Photoshop for a few final touches and export.
A simple way to organize your new assets
A tidy library saves you more time than any template can. Try a quick folder map like this:
- Put each Free Graphic Bundle in the right bucket right away.
- Add the license or ReadMe to the
/ReadMe-Licensesfolder for quick reference. - Keep a small “FAVORITES” folder with your top 30 assets so you don’t scroll forever.
Quick recipes: real tasks you can finish today
Here are a few common jobs and the bundles that help you finish fast.
Recipe A: New Instagram carousel (30 minutes)
- Start with a social template bundle in Canva.
- Drop in two texture PNGs at low opacity for depth.
- Add an SVG icon in the corner for a subtle brand touch.
- Export the set; keep a copy for next week’s edits.
Recipe B: eBook cover + product mockup (45 minutes)
- Pick a presentation/page template as your cover base.
- Add a subtle paper texture on top (multiply 20–30%).
- Export the cover; drop it into a book mockup scene.
- Write a short product blurb and you’re done.
Recipe C: Basic brand sheet for a new client (40 minutes)
- Choose a brand kit starter and test two font pairs.
- Pull three textures/backgrounds that match the vibe.
- Export a one-page style guide with logo, colors, type, and sample blocks.
- Save the Canva link so they can make small edits later.
How to avoid common bundle mistakes
- Downloading everything: Start with three bundles you’ll actually use this month.
- Clashing styles: Keep each project to one icon style and one texture family.
- Heavy files: Compress images for web; keep high-res masters in your library.
- Unclear rights: Skim the license. When in doubt, pick assets that allow commercial use.
Gentle workflow for client work (so you stay on track)
- Collect reference (3–5 screenshots that match the look).
- Pick the bundles (templates, icons, and backgrounds).
- Draft fast (one direction using only bundle assets).
- Refine (replace any odd pieces, adjust color and spacing).
- Preview (drop into two mockups—book/device or print/desk).
- Deliver (clean exports + a short ReadMe with sources).
This keeps you moving and reduces endless tweaking.
FAQs
Can I mix bundle assets from multiple creators?
Yes—just keep a consistent type scale and color scheme so the final layout feels unified.
Are Canva templates editable if I only have the free plan?
Most are, but some features are Pro-only. If the template opens and lets you edit text/colors, you’re fine.
What if a bundle includes fonts I can’t use commercially?
Swap them with open-license fonts from a trusted source and update your style preset.
How do I keep my carousels and covers consistent over time?
Save a master file with your font sizes, color tokens, and grid. Duplicate it for each new set.
Final thoughts
You don’t need a huge library to do good work. A handful of Free Graphic Bundles—one for social, one for brand basics, and one for mockups—covers most daily tasks. As you build, keep your folders clean, your styles simple, and your license notes close by. The rest is practice and steady publishing.
If you’re building out your kit, these guides pair nicely with today’s downloads:
Bonus: Download Free
Grab a small, ready-to-use starter set to try the ideas from this post:
👉 Download the PixBundle Free Designer Starter Pack


